 Mocko
Mocko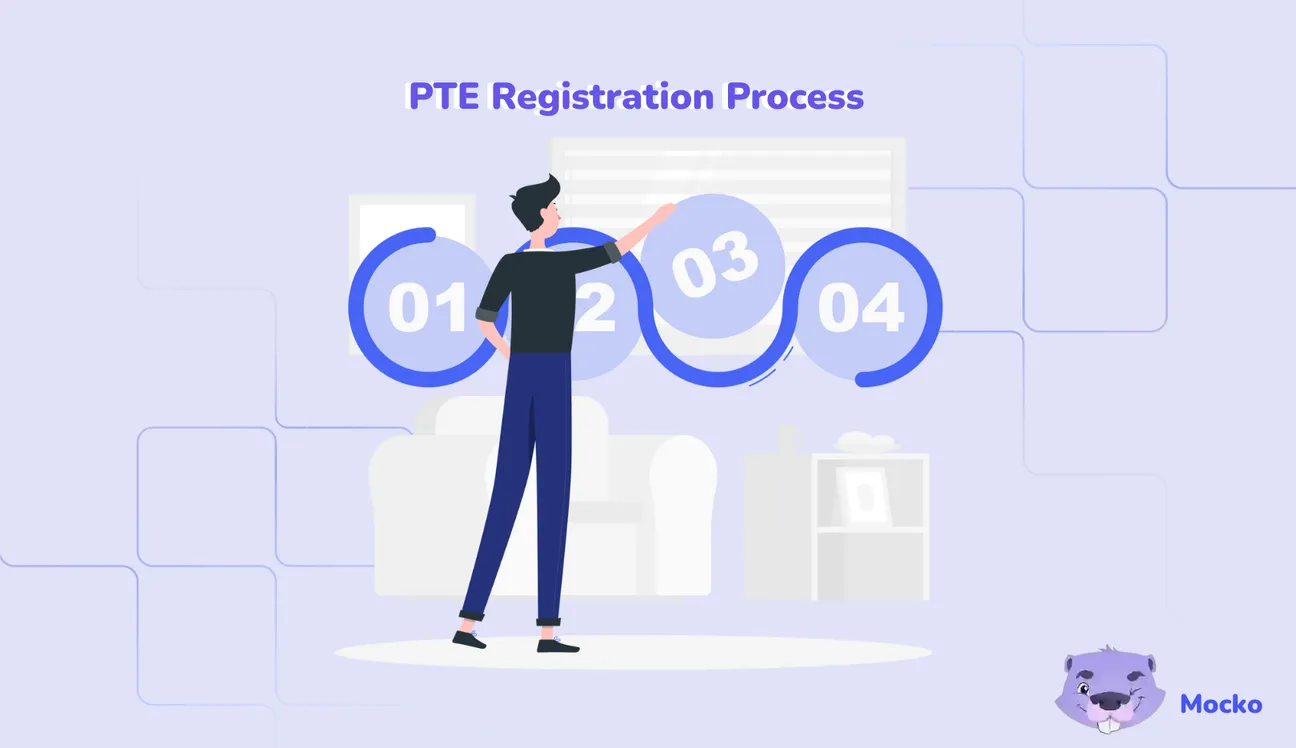
PTE Registration Process: Step by Step Guide
Table of Contents
Registering for the PTE is simple once you know the steps, but it can feel confusing the first time you try to navigate Pearson’s system.
Between creating your account, choosing the right test type, finding an available test center, and understanding ID requirements, there are a few details you don’t want to miss.
But don’t worry! This guide walks you through the entire PTE registration process from start to finish, so you can book your test confidently and avoid the common mistakes that slow candidates down.
Step-by-Step PTE Registration Process
The PTE registration process is 100% online and takes 15–30 minutes if you have your passport ready. Follow this step-by-step guide to avoid common mistakes like name mismatches that can lead to test cancellation.
Step 1: Visit the Official Website
- Go to www.pearsonpte.com.
- Click “Book a test” on the homepage.

Step 2: Select Your Test Type, Location, Date & Time
Choose your objectives for taking a PTE test. Select your preferred test center, date, and time slot. Tests can be booked up to 6 months in advance, but popular slots fill quickly, so aim to book 4-8 weeks ahead.
In our case, we chose Australia as our destination and study as our objective. Therefore, PTE Academic is a suitable test for us.
-32x12.webp)
Other options:
- PTE Academic Online (home test – limited countries/institutions)
- PTE Academic UKVI (for UK visas)
- PTE Core (Canada immigration)
- Select your country (e.g., Germany, India, Australia).
- Pick a city (test centers in Berlin, Frankfurt, Munich, etc., in Germany).
- View available dates and time slots. Popular slots fill up fast, so book 4–8 weeks in advance if possible.

Step 3: Create Your myPTE Account
If you don't have an account, fill out the registration form with your personal details.
- Enter your email address (use one you check regularly).
- Set a strong password.
- Verify your email via the link sent to you. This creates your permanent myPTE dashboard for booking, rescheduling, viewing results, and sending scores.

Note for Minors: If you're under 18, a Parental Consent Form must be completed and approved before booking. It's valid for all tests until you turn 18.
Step 4: Enter Personal Details Accurately
Fill in your personal details exactly as they appear on your passport. Your details must match your identification document exactly:

- Enter all given names (including middle names) in the 'Given name(s)' field.
- Enter your surname or family name in the 'Surname' field. If your ID doesn't have a surname, tick the 'I do not have a surname' box.
- Use Roman (English) characters only.
- Provide your date of birth, country of citizenship (as on your passport), and country of residence (where you live now).
- Enter your passport number and other contact details.
Critical Tip: Any spelling mistake or mismatch with your passport will result in your being unable to take the test. Double-check everything!
Step 5: Review Details and Policies
Read the summary carefully:
- Test fee (varies by country)
- Reschedule/cancellation policy
- Test center rules
- ID requirements
Step 6: Make Payment
Accepted methods: Credit/debit card, PayPal (in some countries).
After successful payment, you’ll receive a confirmation email with your booking details. Print or save the confirmation; you’ll need it on test day.
Step 7: Prepare for Test Day
- Arrive 30 minutes early.
- Bring the exact same passport used during registration.
- No other ID is accepted in most cases.
PTE Exam Fees (2026 Examples)
Fees vary by country and include local taxes:
Country | PTE Academic Fee (approx.) |
Germany | USD 250–260 |
India | ₹17,000–18,000 |
Australia | AUD 475 |
Canada | CAD 350 |
UK | GBP 220 |
USA | USD 235–250 |
Check the exact fee for your country on the official site when booking.
Rescheduling or Cancelling
All changes must be made online via your myPTE account:
- 14+ days before test → usually free reschedule / full refund
- 7–13 days → partial refund or fee
- Less than 7 days → no refund
Conclusion
Registering for PTE is straightforward when you follow the official steps and pay close attention to your name and passport details. Do it early, double-check everything, and you’ll secure your preferred slot with zero stress. Once registered, focus on preparation. PTE results are usually available within 48 hours!
FAQs
A valid passport is mandatory. No other ID is accepted for registration or on test day.
Usually 10–15 minutes if your details are ready. Payment adds another 2–5 minutes.
No. Since 2023–2024, registration is 100% online only. Offline/phone options are no longer available.
Yes, it must match your passport 100%. Even a single letter difference can prevent you from taking the test.
Contact Pearson support immediately (before test day). Minor corrections may be possible; major changes usually require cancellation and rebooking.
Ideally 4–8 weeks before your desired test date to get your preferred slot and give yourself ample preparation time.


