 Mocko
Mocko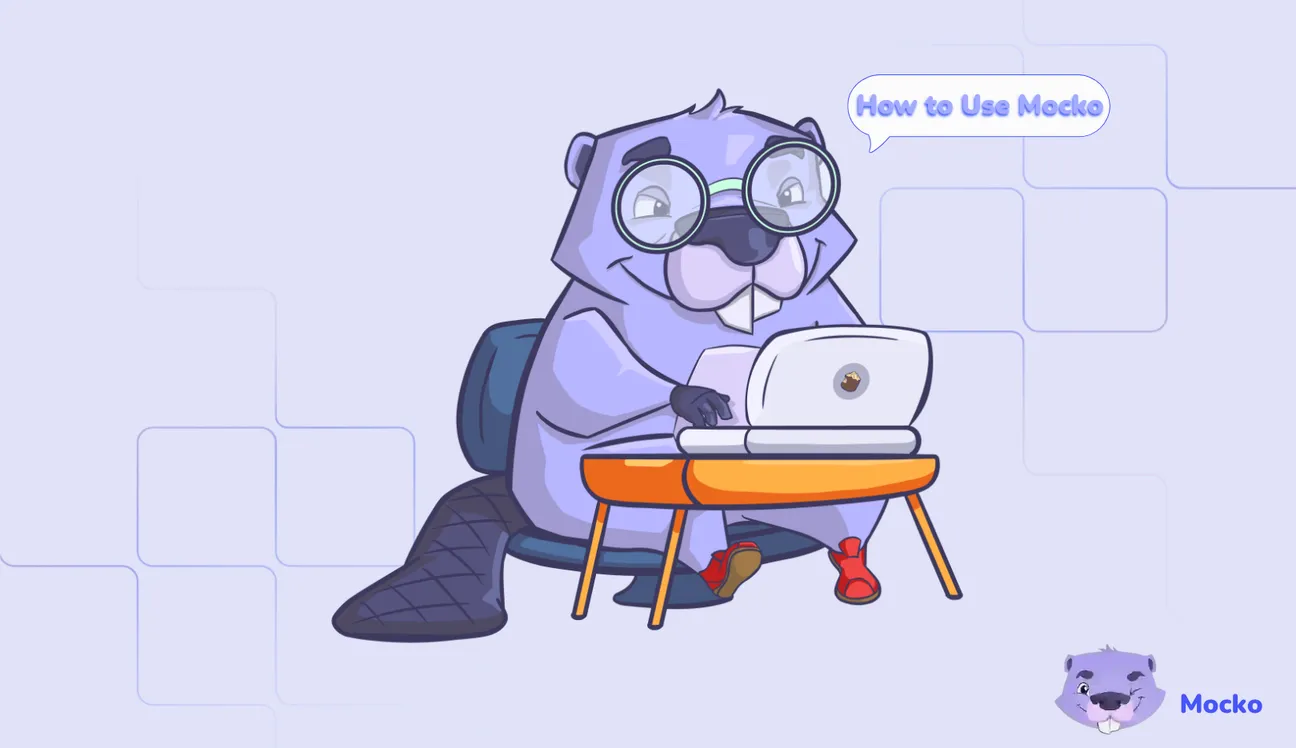
How to Use Mocko? Guide for Beginners
Table of Contents
If you’re new to Mocko.ai and don’t know how to use it, this guide is for you! In this walkthrough, we’ll focus on two essential steps: turning on microphone access and enabling notifications. These features let Mocko record your speaking responses accurately and keep you updated on your practice results.
We’ll go through everything step by step, using screenshots so you can follow along without confusion. By the end, you’ll be fully set up and ready to start your first speaking test with confidence.
How to Turn on Notifications on Mocko?
On Mocko, there's a new 'Messages' section that is dedicated to Mocko's news, updates, and overall, everything you need to receive from the platform.
These notifications help you get quick updates on test results and new study tips, so it’s a good idea to keep Mocko’s notifications turned on. Let’s see how to do this:
1. Mocko.ai might prompt you for this when you first visit or after a test, but you can trigger it anytime. When the pop-up appears, it'll say "Autorisation des notifications" and ask if you want to receive notifications.

2. Click on "Autoriser" (Authorize) to turn them on.

3. Once done, you'll see a green banner on your dashboard saying "Notifications activées avec succès" (Notifications activated successfully).

If the prompt doesn't show up, check your browser settings (like in Chrome, go to site permissions) and allow notifications for app.mocko.ai. This keeps you in the loop without constant checking.
How to Turn on Your Microphone on Mocko?
For speaking tests (expression orale), Mocko needs your mic to record responses.

1. Once you open the speaking section, Mocko gives you a short text to read aloud and asks you to record your reading. Click the red recording button in the center of the screen.

3. Mocko will then ask for permission to use your microphone. Tap “Autoriser”, or use your browser’s prompt in the top‑left corner to select “Allow while visiting the site.”

4. Then tap the red recording button again to start recording your reading.

5. When you’re done, click “Obtenir le résultat” and Mocko will analyze your response and give you feedback.

Conclusion
That’s all you need to get started with Mocko. Once your notifications and microphone are enabled, you can jump straight into speaking tests, track your progress, and build stronger habits with daily practice.
Mocko is designed to make TEF prep easier, faster, and more structured, so the more you use it, the more confident you’ll feel. Now that everything’s set up, you’re ready to dive in and start improving your French step by step.
FAQs
The mic lets you record spoken responses for oral tests. Without it, you can't participate in speaking exercises, which are key to improving pronunciation and fluency.
No worries, go to your browser's site settings (e.g., in Chrome, click the lock icon next to the URL), find app.mocko.ai, and toggle notifications on. Refresh the page, and it should work.
Yes, Mocko uses recordings only for evaluation and feedback. They don't share or store them beyond what's needed for your reports. Check their privacy policy for details.
The reports give solid feedback on effort, clarity, and relevance based on AI analysis. They're helpful for practice but not official certifications; use them to track progress toward real exams.
Mocko supports modern browsers like Chrome, Firefox, Edge, and Safari. Make sure yours is up to date for smooth mic and notification handling.


